|
Why
are you Cleaning?
The first
question should always be, �does this stone truly need cleaning?� Often people
mistake the patina of age for �dirt.� They want marble stones, for example, to
be as white as when originally purchased � and this is a tragic mistake. Not
only does such aggressive cleaning cause irreparable damage, but it destroys the
stone�s patina � and history � making it look like the stone was placed in the
cemetery only yesterday. Moreover, the cause of much biological growth is the
shade created by the dense foliage of trees that usually can�t � or shouldn�t �
be removed from the cemetery. Consequently, once you begin a program of washing
you find that you must clean the stones every few months. And every cleaning, no
matter how gentle, has the potential to cause additional damage to the stone.
So, you
may decide that a soiled stone is best left in that condition.
There are
times when biological growth may be causing deterioration of the stone. In such
circumstances it may become necessary to clean the stone. Many professional
conservators will also clean the stone in order to get closer to the original
stone color for infill matching.
-
Algae, lichen, fungi
--
that may be green, black, gray, yellow, red, orange, brown, or blue --
can be hazardous to gravestones because they trap moisture on (and under the
surface of) the stone. They also secrete acids that can dissolve limestone,
marble, sandstone, concrete, and mortar. And they may insert their "roots"
into the pores of the stone. These growths will swell and shrink in response
to moisture, leading to cracking and spalling of the stone.
-
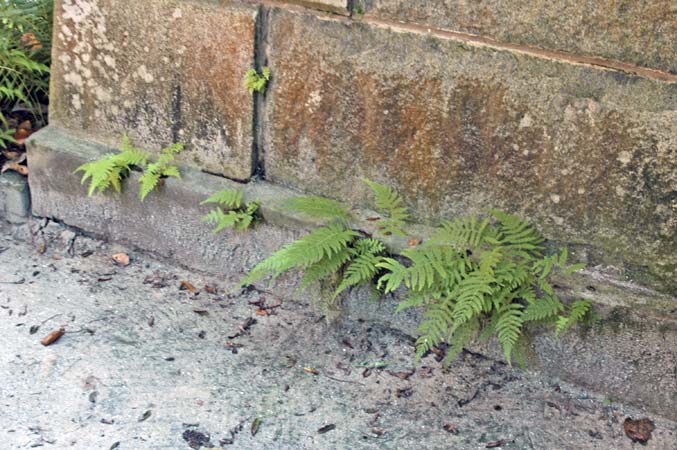
Plant life
--
such as ivy, ferns, and moss, may be hazardous to the gravestone because they
have roots that will penetrate the stone and also because they trap moisture.
Removal of Organic Materials
 On
smooth, stable surfaces, algae, lichen, and fungus may sometimes be easily
brushed or scraped off before washing (always use scrapers that are softer
than the stone, such as wood popsicle sticks or bamboo skewers). Most
surfaces, however, require wetting the growth before gently brushing, prying, or
scraping them off the stone. Plants should be gently pulled out of cracks
or clipped, and then the soil or debris they were rooted in should be brushed
away from the stone. The plant's root system should be removed with the soil and
debris. If there is a mass of plant life, don't just yank it from the stone
--
you'll almost certainly damage the stone. Carefully clip or pull away each
section, to prevent pulling away any loose or weakened fragments of stone. On
smooth, stable surfaces, algae, lichen, and fungus may sometimes be easily
brushed or scraped off before washing (always use scrapers that are softer
than the stone, such as wood popsicle sticks or bamboo skewers). Most
surfaces, however, require wetting the growth before gently brushing, prying, or
scraping them off the stone. Plants should be gently pulled out of cracks
or clipped, and then the soil or debris they were rooted in should be brushed
away from the stone. The plant's root system should be removed with the soil and
debris. If there is a mass of plant life, don't just yank it from the stone
--
you'll almost certainly damage the stone. Carefully clip or pull away each
section, to prevent pulling away any loose or weakened fragments of stone.
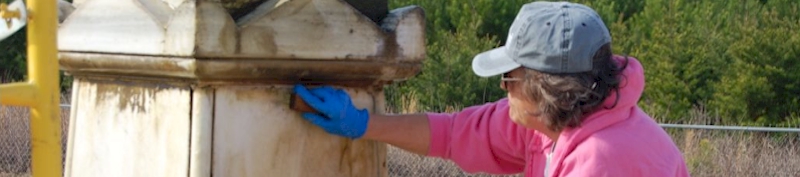
Basic Cleaning
1.
Remove any loose debris or plant life (see above)
2.
Thoroughly wet the stone with a hose and running water. The water will wash
away some of the dirt or biological material, and also is essential to prevent
the stone from absorbing the detergent you will be using as the next step in
cleaning. If you don�t have a source of running,
potable water � don�t attempt to clean the stone!
 3.
Gently scrub the stone with very light pressure in a circular motion using a
soft-bristle brush to dislodge soil/biological growth from the stone. Work
from the bottom of the stone up toward the top --
this prevents staining and streaking as clean water drains downward. Do
not use a dry brush! A dry brush can damage the gravestone by removing
the upper layers of the stone, causing it to deteriorate faster or by opening
small holes or pores for future biological growth. Constantly dip your brush
in a bucket of water, or better, allow a water hose to run on the stone as you
brush. Remember, less abrasion on the stone surface is best. 3.
Gently scrub the stone with very light pressure in a circular motion using a
soft-bristle brush to dislodge soil/biological growth from the stone. Work
from the bottom of the stone up toward the top --
this prevents staining and streaking as clean water drains downward. Do
not use a dry brush! A dry brush can damage the gravestone by removing
the upper layers of the stone, causing it to deteriorate faster or by opening
small holes or pores for future biological growth. Constantly dip your brush
in a bucket of water, or better, allow a water hose to run on the stone as you
brush. Remember, less abrasion on the stone surface is best.
4. Rinse the brush
frequently! Use a clean brush to clean with; don't abrade the gravestone
by dragging dirt, sand, particles of broken stone, twigs, etc. across the
surface you are supposed to be protecting.
5. Use
clean water. If the gravestone is particularly dirty, change your bucket of
water frequently, so that you are not dipping your brush into a suspended
solution of the grit and biological matter you are removing. This is another
convenience of having water running over the stone throughout the cleaning.
6. Rinse
the stone thoroughly with water.
Cleaning with D/2
Biological Solution
1.
Thoroughly wet the stone with running water from a hose. This, of course, isn't
necessary if this step follows basic water cleaning since the stone will ready
be wet.
D/2 Architectural
Antimicrobial is a proprietary combination of octyl dimethyl ammonium
chloride, oioctyl dimethyl ammonium chloride, oidecyl dimethyl ammonium
chloride, and alkyl dimethyl benzyl ammonium chloride with surfactants,
wetting agents, and buffers. It has a pH of 9.5. It is noncombustible. There
are no specific hazards in handling either the concentrate or diluted
solutions. You should avoid splashing the liquid in your eyes. Ask the
supplier for a Material Safety Data Sheet (MSDS) for additional safety
information.
2.
Heavy growth should be cleaned with undiluted D/2. For lighter deposits D/2 can
be diluted with potable water from 1:1 to 1:4 parts water by volume.
3. The
D/2 can be applied to the stone using a brush, roller, or pump sprayer. Scrub
the surface thoroughly with a soft-bristle brush and allow the D/2 to remain
on the surface of the stone for 1 to 2 minutes (up to 10 minutes for optimal
action when there is heavy growth). Then apply additional D/2 to maintain a
wet surface. Lightly mist with water and continue light scrubbing. Complete
cleaning may require multiple applications.
4. If
at any time you feel that the stone you are working on is unstable
--
it flakes, spalls, or sugars (produces lots of grit)
--
STOP IMMEDIATELY and get assistance.
5. When
the stone is clean, rinse it thoroughly with water. This means allowing
water to run over the stone for at least an additional five minutes --
about the time it will take you to locate the next stone to be cleaned and get
set up.
6. Never
undertake cleaning is freezing temperatures are anticipated within the next 24
hours.
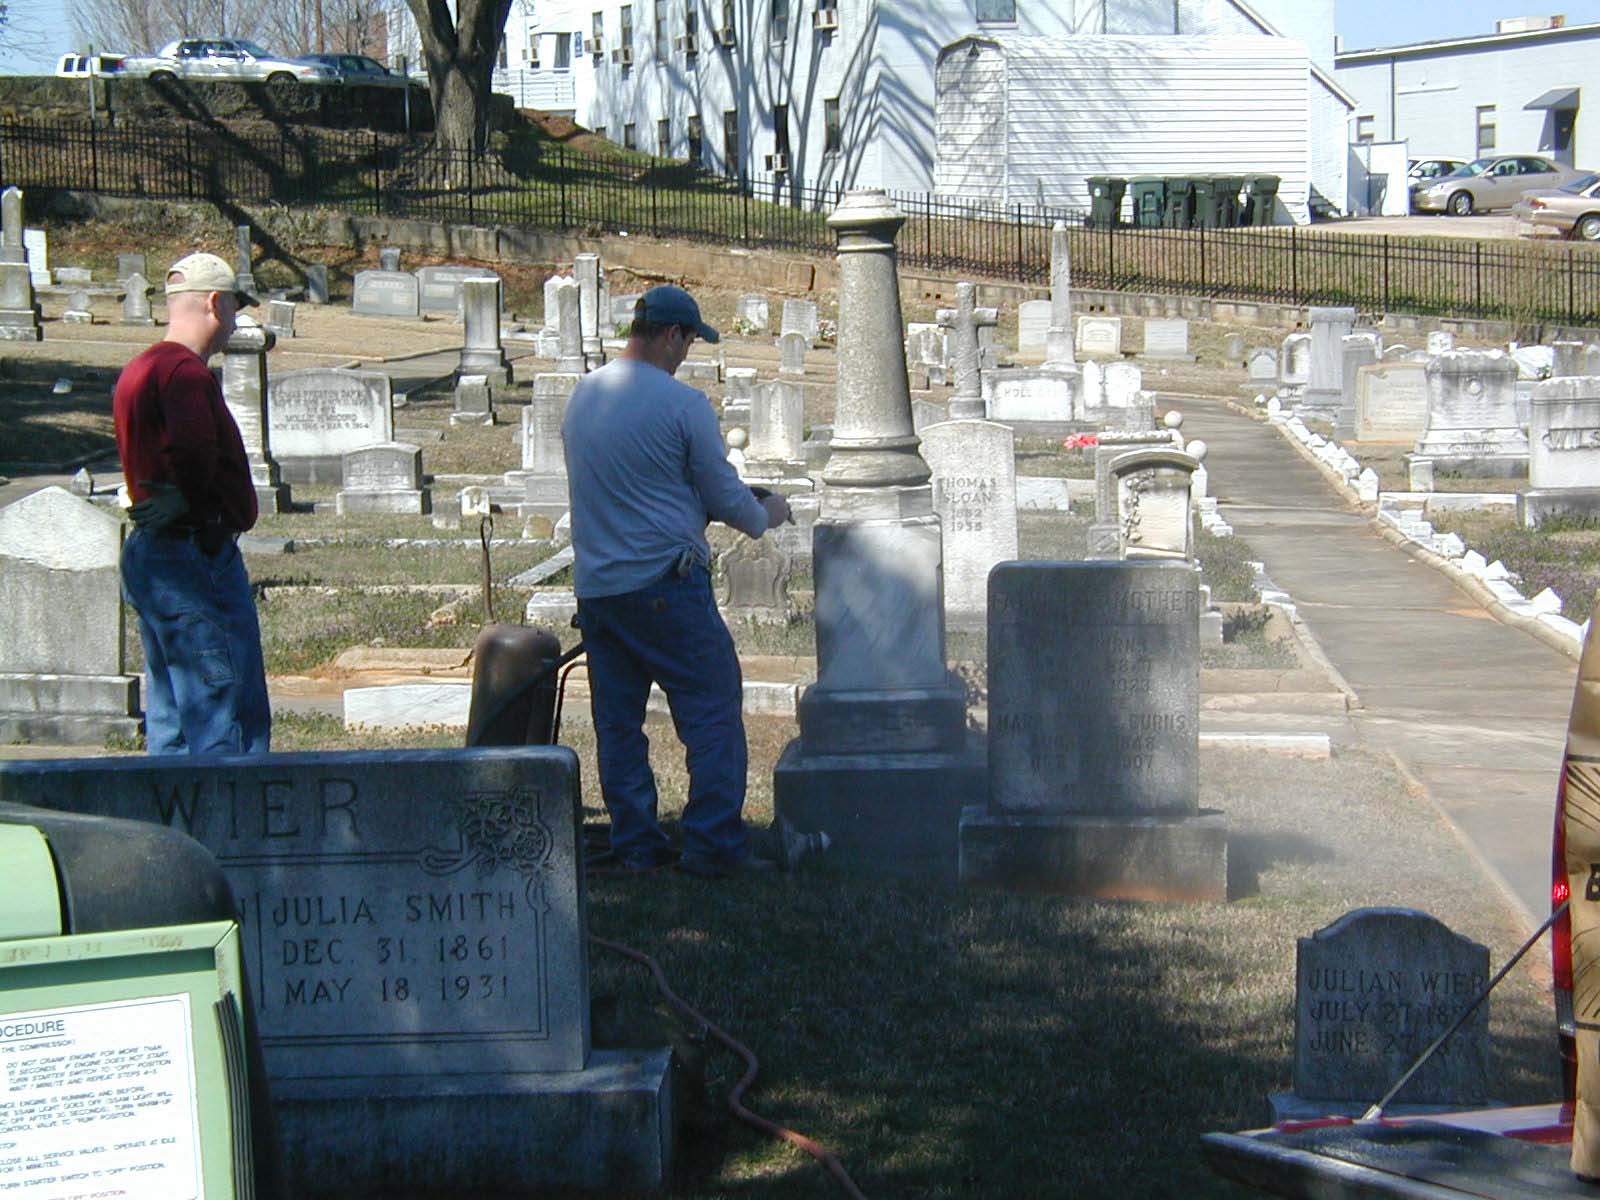
Examples of Cleaning using D/2
Biological Solution
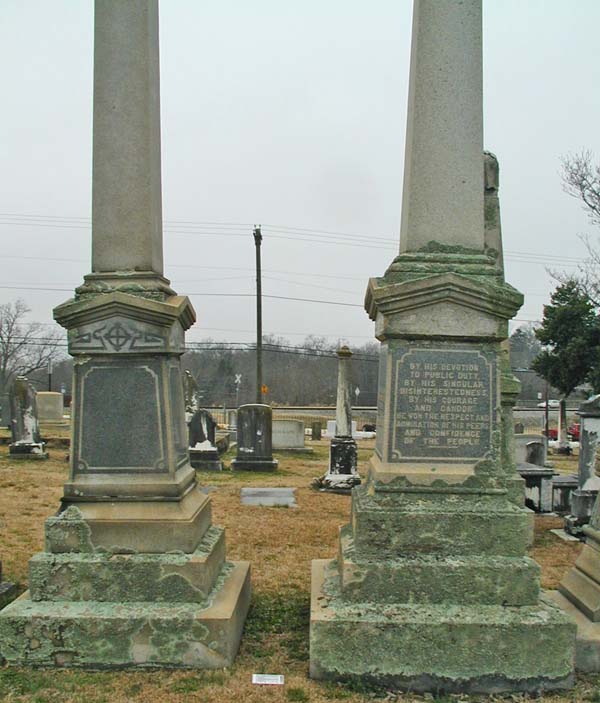 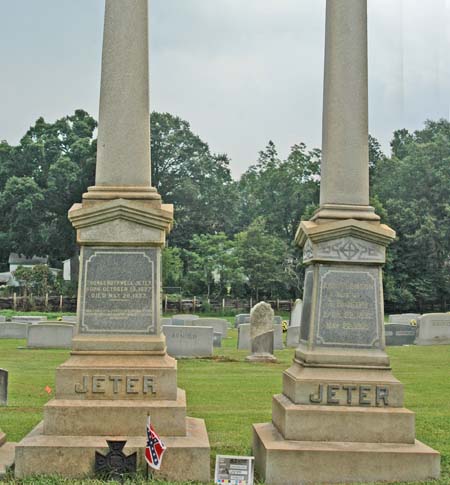
These photos show before (left) and after
(right) cleaning of two granite monuments that had very heavy lichen growth.
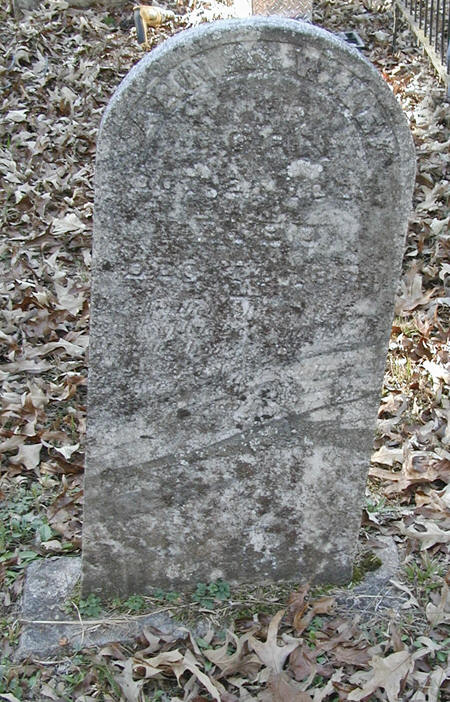
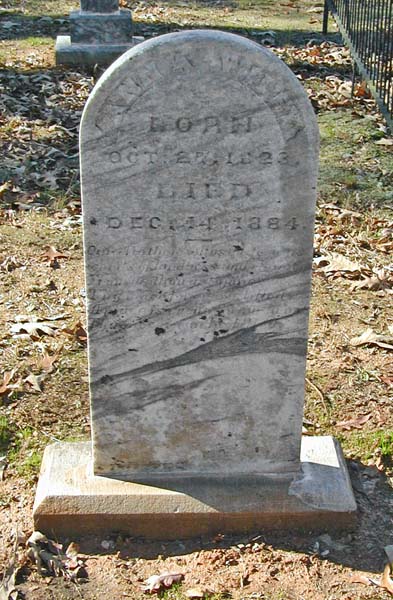
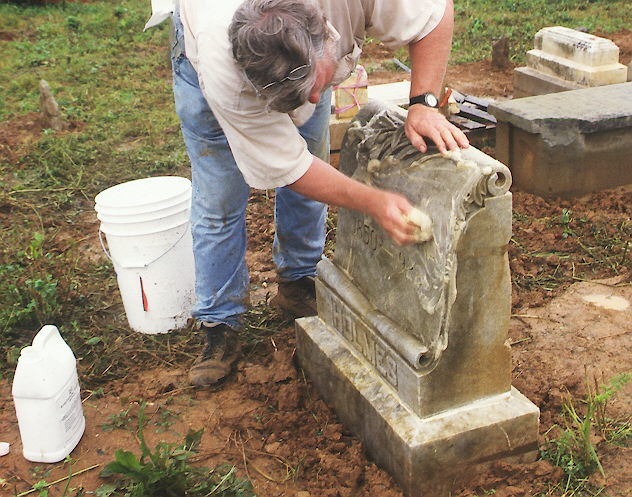
This marble tab in socket stone was leveled,
reset, and cleaned. The before photo is on the left; after is on the right.
What NEVER to do to Stone
There are
some �cleaning� approaches that should NEVER
be used on cemetery markers.
 Use
of bleach. Sodium hypochlorite (common bleach) contains salts that damage
stone. Stone "cleaned" with bleach, upon careful inspection, reveals erosion and
yellowing. Pool bleach (calcium hypochlorite) will cause
identical problems. Use
of bleach. Sodium hypochlorite (common bleach) contains salts that damage
stone. Stone "cleaned" with bleach, upon careful inspection, reveals erosion and
yellowing. Pool bleach (calcium hypochlorite) will cause
identical problems.
Also be aware that many pool algaecides are
very corrosive. Many may also be very damaging to the environment. We do not
recommend the use of ANY such products. The only biocide that we
recommend is D/2.
Use
of acid cleaning. Acids on marble and limestone dissolve the stone, leaving
an inappropriate glossy and crystallized looking surface. This damage cannot be
undone and the use of acids is also dangerous to you and surrounding vegetation.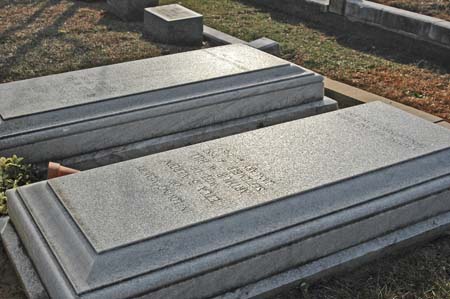
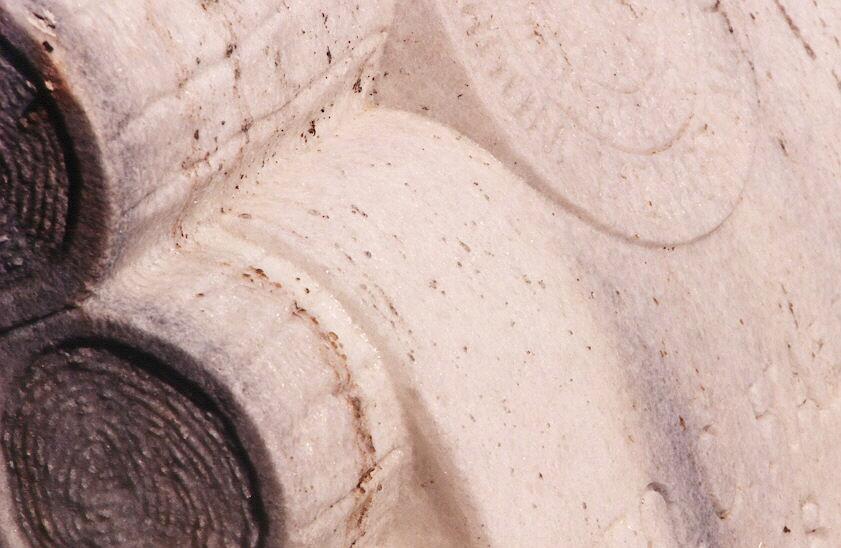
  Use of sand blasting. This approach
(even if "soft" materials like glass spheres are used) is very harsh and will
dramatically abrade the stone surface. This has the potential to actually
accelerate further deterioration of the stone. Once done, there is no way to
undo the extreme damage caused by sandblasting. The patina, or historical beauty
of the stone, is entirely destroyed. Use of sand blasting. This approach
(even if "soft" materials like glass spheres are used) is very harsh and will
dramatically abrade the stone surface. This has the potential to actually
accelerate further deterioration of the stone. Once done, there is no way to
undo the extreme damage caused by sandblasting. The patina, or historical beauty
of the stone, is entirely destroyed.
Use of high pressure water. Water
pressure over 90 psi has the potential to significantly damage any stone that
isn't sound, increasing spalling, and accelerating sugaring.
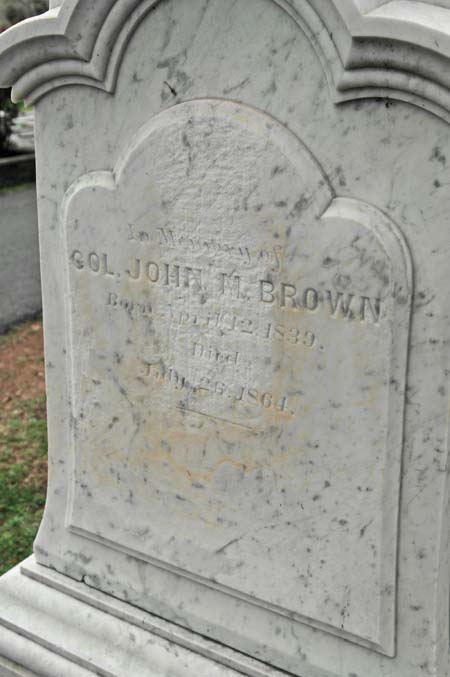
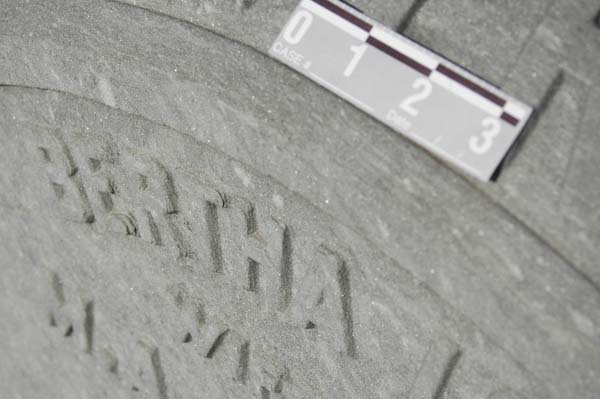
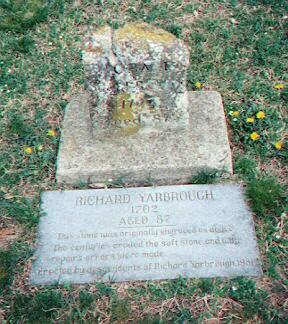 Recarving
inscriptions. While not actually a cleaning technique, this is sometimes
done to "improve" the readability of faint inscriptions. But it does irreparable
damage to historic stones, destroying their original artistry and beauty -- and
destroying the historic significance of the stone itself. There are other
approaches if a family wants to ensure that the grave continues to be clearly
marked, such as setting a new stone horizontal on the ground (such as the
example to the left). Recarving
inscriptions. While not actually a cleaning technique, this is sometimes
done to "improve" the readability of faint inscriptions. But it does irreparable
damage to historic stones, destroying their original artistry and beauty -- and
destroying the historic significance of the stone itself. There are other
approaches if a family wants to ensure that the grave continues to be clearly
marked, such as setting a new stone horizontal on the ground (such as the
example to the left).
Sources for Products
|